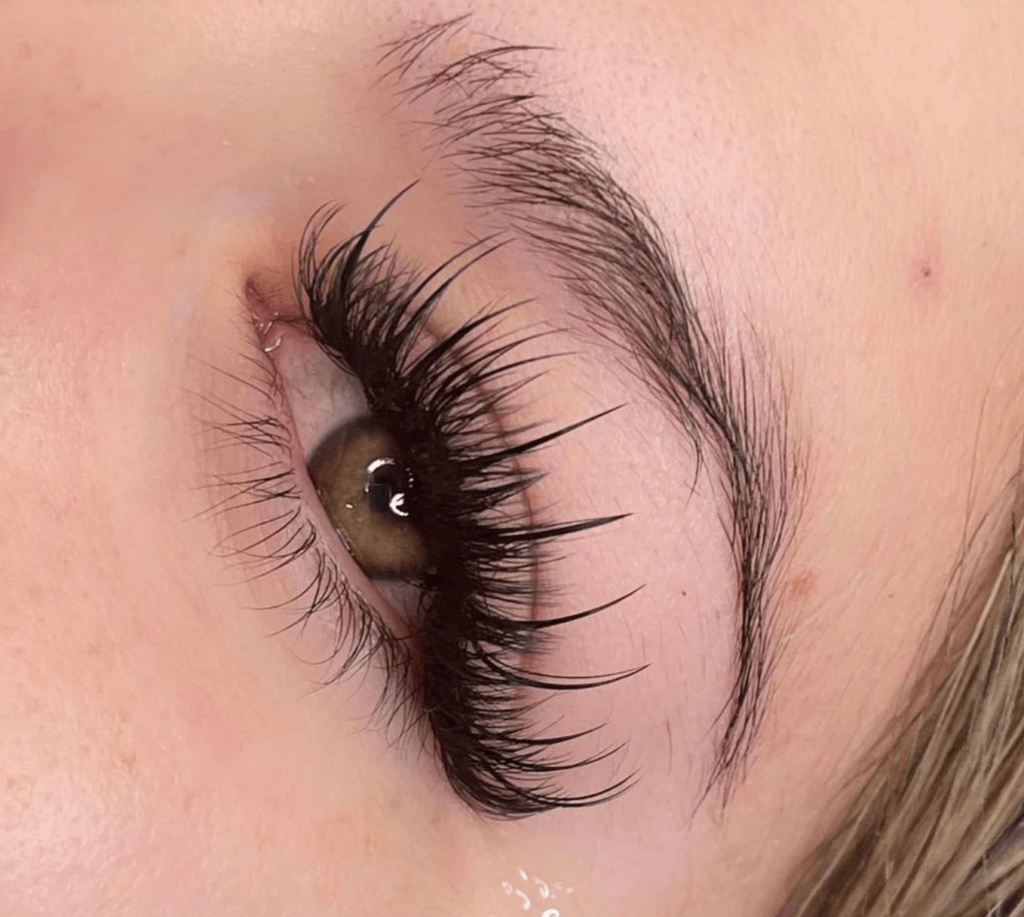
Lash spikes are a game-changer for creating bold, wispy, and textured lash sets. They add dimension, drama, and that “Instagram-worthy” effect clients love. Here are 5 pro tips to help you master lash spikes and take your lash artistry to the next level!
1. Choose the Right Spikes for the Look
Not all spikes are the same! Depending on the style you want to achieve, choose the right thickness and length:
✅ For a wispy Kim K look → Use longer spikes (2-3mm longer than the main set).
✅ For soft-textured volume → Go for 0.05-0.07mm spikes to blend seamlessly.
✅ For a bold, strip-lash effect → Use 0.07-0.10mm spikes to make them stand out.
Pro Tip: Hand-make your spikes by closing 3-5 lashes together using glue or use pre-made spikes to save time.
2. Map Out the Placement First
To create a balanced, wispy set, plan where your spikes will go before applying.
📌 Best Placement:
- Place spikes in the center of each lash segment for a uniform wispy effect.
- Alternate lengths to add dimension and avoid a stiff look.
- Leave enough space between spikes (2-3 fans in between) to keep them noticeable.
Pro Tip: Use white eyeliner to mark spike placements before lashing!
3. Apply Spikes First, Then Fill the Set
For a seamless look, always apply spikes first, then work around them:
🔹 Attach spikes on a strong natural lash to ensure retention.
🔹 Use a slightly higher glue amount to keep the spike structured.
🔹 Fill the rest of the set with volume fans or classic lashes to blend.
Pro Tip: If a spike gets too thick at the base, pinch it gently to keep the tip sharp!
4. Use a Sticky Strip to Pre-Make Your Spikes
If you’re hand-making spikes, use a sticky strip or lash tape to hold and prepare multiple spikes before application.
🔥 This helps:
✔ Save time during the lash application.
✔ Keep spikes consistent in shape and thickness.
✔ Avoid struggling to grab the perfect spike during application.
5. Seal and Style for Maximum Retention
Once your set is done, style the spikes for the best final look:
💨 Use a nano mister to cure the glue for better retention.
📏 Brush the lashes up to make spikes stand out beautifully.
✨ Seal the set with a retention booster (if needed) for long-lasting wear.
Final Thoughts
Lash spikes are the secret to Instagram-worthy, textured lash sets! With the right spike selection, placement, and styling, you can create stunning, high-demand looks that clients love. Master these 5 tips, and your lash sets will stand out from the rest!
💬 Which lash style do you love using spikes for? Let’s chat in the comments! 💕
